Notebook 下載
Lesson12_CloudDeployment.ipynb — 下載後在 IntelliJ IDEA 開啟,或直接匯入 JetBrains Datalore 免安裝執行。
Key Findings
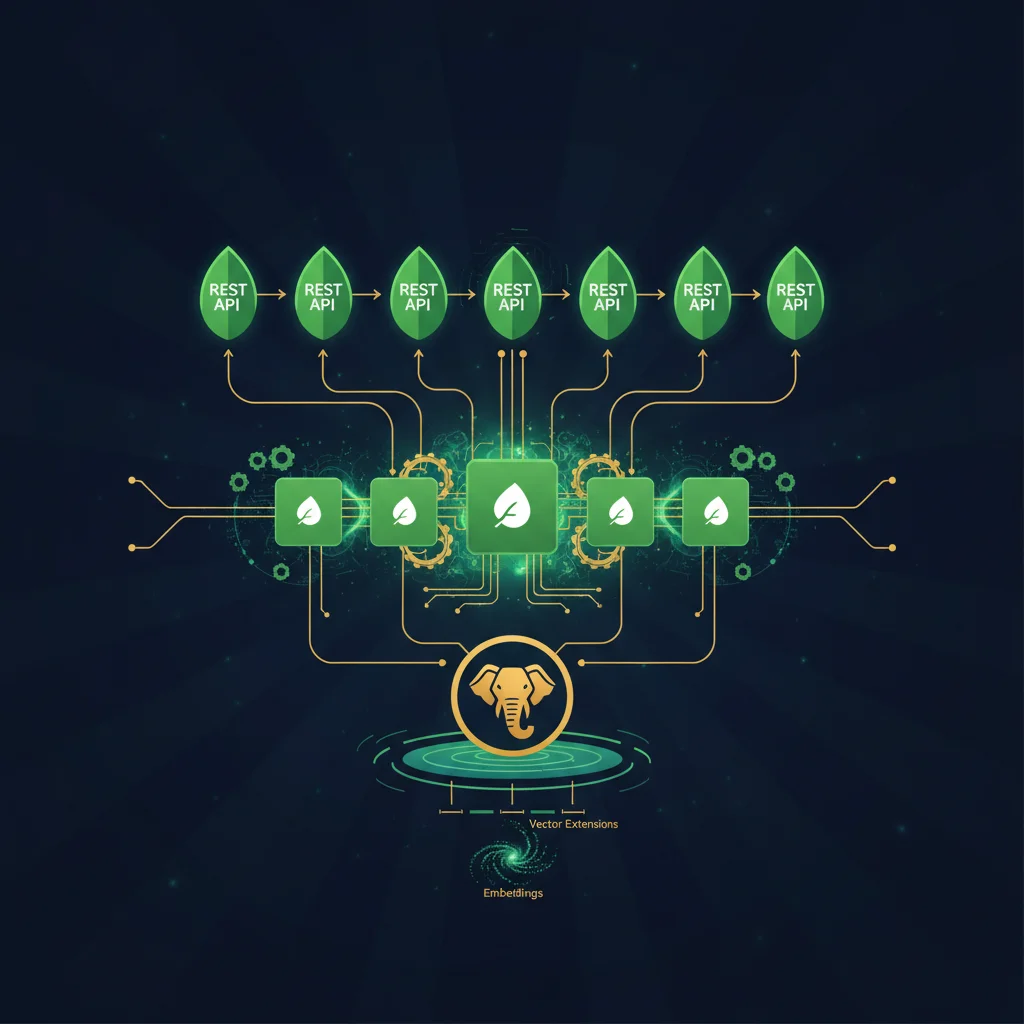
- Docker 多階段建構將 Spring AI 應用打包成約 590MB 的映像——JDK 21 編譯、JRE 21 運行,確保任何環境都能一致執行
- Google Cloud Run 提供每月 200 萬次免費呼叫與 scale-to-zero——一行
gcloud run deploy指令就能取得公開 URL,零伺服器管理 - GitHub Actions CI/CD 實現
git push自動部署——從程式碼提交到雲端上線全自動,透過 GCP Service Account + GitHub Secrets 安全管理憑證 - 完成本課代表你已掌握從零到部署的完整 AI 應用開發流程——13 堂課涵蓋 Notebook 實驗、Spring Boot 工程化、企業級功能、雲端部署
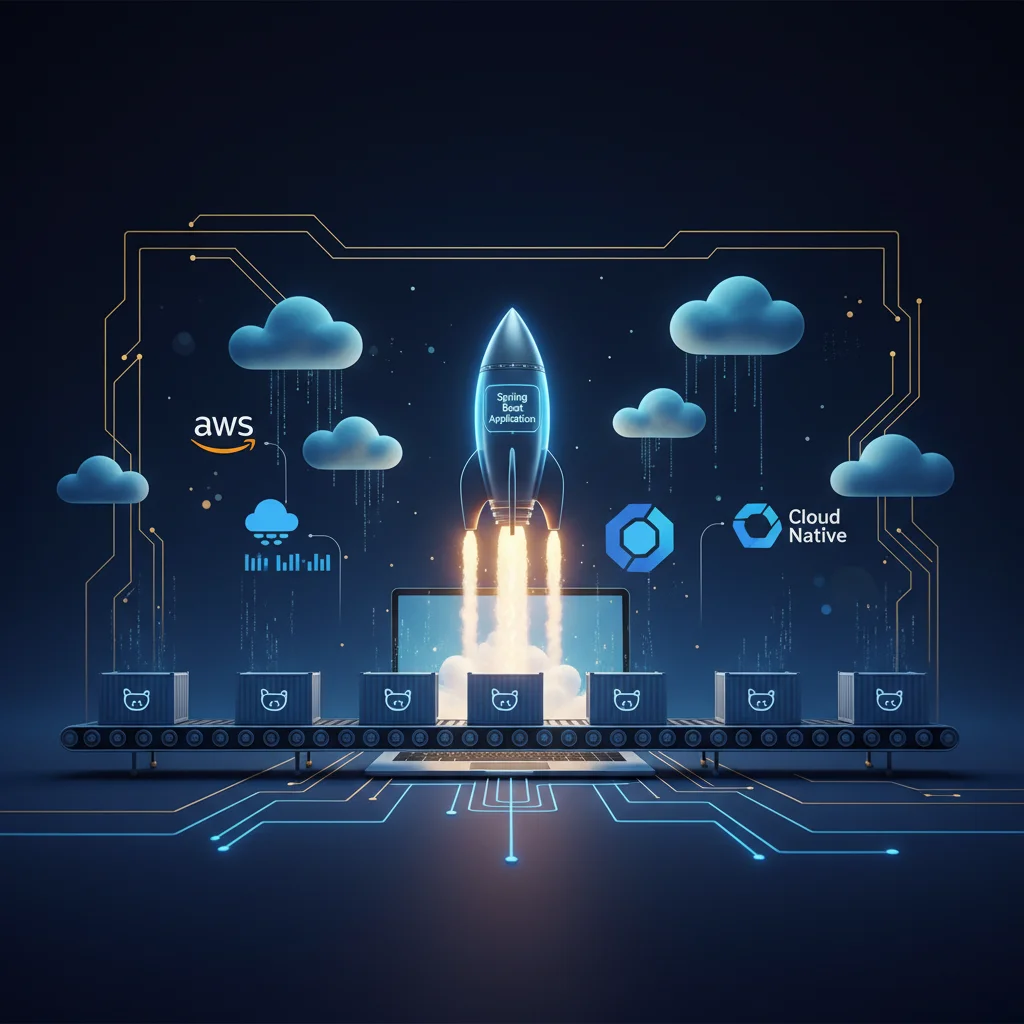
部署路線圖
Step 1: Docker 打包        → 確保任何環境都能跑
Step 2: Docker 本機驗證     → 確認打包正確
Step 3: 部署到 Cloud Run    → 一行指令上雲端
Step 4: CI/CD 自動化        → git push 自動部署
為什麼選擇 Google Cloud Run[1]?
| 平台 | 免費額度 | 部署難度 | Scale-to-Zero | 企業適用 |
|---|---|---|---|---|
| Cloud Run | 200 萬次/月 | 一行指令 | ✅ | ✅ |
| Railway | $5/月起 | 三行指令 | ❌ | 一般 |
| AWS(ECS/Lambda) | 按用量計費 | 多步驟 | ✅ | ✅ |
Step 1:Docker 打包
使用多階段建構[2]——第一階段用 JDK 編譯,第二階段只保留 JRE 和 JAR,最小化映像大小:
# Dockerfile
FROM eclipse-temurin:21-jdk AS builder
WORKDIR /app
COPY . .
RUN chmod +x gradlew && ./gradlew bootJar --no-daemon

FROM eclipse-temurin:21-jre
WORKDIR /app
COPY --from=builder /app/build/libs/*.jar app.jar
EXPOSE 8080
ENTRYPOINT ["java", "-jar", "app.jar"]
建構映像(含 Vue 3 前端打包):
# 先打包前端
cd frontend && npm run build && cd ..

# 建構 Docker Image
docker build -t spring-ai-demo .

# 確認映像大小
docker images spring-ai-demo --format '{{.Size}}'
# 約 590MB
Step 2:本機 Docker 驗證
部署前先在本機確認容器能正常運作:
# 啟動容器(port 8081 避免與開發衝突)
docker run -d \
  --name spring-ai-test \
  -p 8081:8080 \
  -e OPENAI_API_KEY=$OPENAI_API_KEY \
  spring-ai-demo

# 等待啟動(約 10-15 秒)
sleep 15

# 健康檢查
curl -s http://localhost:8081/actuator/health
# {"status":"UP"}

# 測試 API
curl -s -X POST http://localhost:8081/api/chat \
  -H 'Content-Type: application/json' \
  -H 'X-Session-Id: docker-test' \
  -d '{"message":"你好,用一句話介紹自己"}'
預期回應:
{"answer":"你好,我是小春,你的公司智能助理,隨時為你提供幫助和資訊!","sources":[]}# 驗證完畢,停止測試容器
docker rm -f spring-ai-testStep 3:部署到 Google Cloud Run
3a:安裝與設定 gcloud CLI
# macOS
brew install --cask google-cloud-sdk

# 登入 Google Cloud
gcloud auth login

# 設定專案(用你的 GCP 專案 ID)
gcloud config set project YOUR_PROJECT_ID
3b:啟用必要的 API
gcloud services enable \
  run.googleapis.com \
  cloudbuild.googleapis.com \
  artifactregistry.googleapis.com
3c:一鍵部署
Cloud Run 的 --source 參數會自動在雲端建構 Docker 映像並部署[1]:
gcloud run deploy spring-ai-demo \
  --source . \
  --region asia-east1 \
  --port 8080 \
  --memory 1Gi \
  --set-env-vars OPENAI_API_KEY=$OPENAI_API_KEY \
  --allow-unauthenticated \
  --quiet
約 3~8 分鐘後,你會得到一個公開 URL:
Service [spring-ai-demo] revision [spring-ai-demo-00001-xxx] has been deployed
and is serving 100 percent of traffic.

Service URL: https://spring-ai-demo-xxxxx-de.a.run.app就是這樣。任何人都可以從這個 URL 使用你的 AI 知識庫助手——前端聊天介面、RAG 問答、串流輸出、文件上傳,全部都能運作。
驗證雲端服務
# 測試雲端 API
curl -s -X POST https://spring-ai-demo-xxxxx-de.a.run.app/api/chat \
  -H 'Content-Type: application/json' \
  -H 'X-Session-Id: cloud-test' \
  -d '{"message":"你好"}'

# 查看服務狀態
gcloud run services describe spring-ai-demo --region asia-east1
Step 4:CI/CD 自動化——git push 自動部署
手動部署太麻煩。設定 GitHub Actions[3] 後,每次 git push 到 main 分支就自動部署:
# .github/workflows/deploy.yml
name: Deploy to Cloud Run

on:
  push:
    branches: [main]

jobs:
  deploy:
    runs-on: ubuntu-latest
    permissions:
      contents: read
      id-token: write

    steps:
      - uses: actions/checkout@v4

      - uses: google-github-actions/auth@v2
        with:
          credentials_json: ${{ secrets.GCP_SA_KEY }}

      - uses: google-github-actions/setup-gcloud@v2

      - name: Deploy to Cloud Run
        run: |
          gcloud run deploy spring-ai-demo \
            --source . \
            --region asia-east1 \
            --port 8080 \
            --memory 1Gi \
            --set-env-vars OPENAI_API_KEY=${{ secrets.OPENAI_API_KEY }} \
            --allow-unauthenticated \
            --quiet
設定 GitHub Secrets
需要兩個 Secret[4]:
| Secret 名稱 | 來源 | 用途 |
|---|---|---|
| OPENAI_API_KEY | OpenAI Platform | AI 模型呼叫 |
| GCP_SA_KEY | GCP Service Account JSON | Cloud Run 部署權限 |
# 建立 GCP Service Account
gcloud iam service-accounts create github-deploy \
  --display-name="GitHub Actions Deploy"

# 授予部署權限
for role in roles/run.admin roles/cloudbuild.builds.builder \
  roles/storage.admin roles/artifactregistry.admin \
  roles/iam.serviceAccountUser; do
  gcloud projects add-iam-policy-binding YOUR_PROJECT_ID \
    --member="serviceAccount:github-deploy@YOUR_PROJECT_ID.iam.gserviceaccount.com" \
    --role="$role" --quiet
done

# 產生 JSON Key
gcloud iam service-accounts keys create gcp-sa-key.json \
  --iam-account=github-deploy@YOUR_PROJECT_ID.iam.gserviceaccount.com

# 設定 GitHub Secrets
gh secret set GCP_SA_KEY < gcp-sa-key.json
gh secret set OPENAI_API_KEY -b "sk-your-key"

# 刪除本地 Key(安全!)
rm gcp-sa-key.json
設定完成後,完整的自動化流程:
git add -A
git commit -m "feat: add new feature"
git push origin main
# → GitHub Actions 自動觸發
# → Docker 建構
# → 部署到 Cloud Run
# → 約 5 分鐘後自動上線
生產上線檢查清單
| 項目 | 確認方式 | 狀態 |
|---|---|---|
| Dockerfile | 多階段建構、JRE 運行 | ✅ |
| .dockerignore | 排除 node_modules、.gradle 等 | ✅ |
| .gitignore 排除 .env | API Key 不入版控 | ✅ |
| API Key 用環境變數 | 程式碼中無硬編碼 | ✅ |
| 前端已打包 | static/index.html 存在 | ✅ |
| PGVector 配置 | application-pgvector.yml 就緒 | ✅ |
| 健康檢查 | /actuator/health 回傳 UP | ✅ |
| CI/CD 流程 | GitHub Actions + Secrets | ✅ |
清理資源(避免費用)
# 刪除 Cloud Run 服務(不再產生費用)
gcloud run services delete spring-ai-demo --region asia-east1 --quiet

# 停止本地 PGVector(保留資料)
docker compose down

# 完全刪除資料
docker compose down -v
課程完整回顧:13 堂課的學習路徑
═══ 基礎篇:Kotlin Notebook 實驗 ═══

Lesson 0   環境設定(JDK + IntelliJ + Kotlin Notebook)
Lesson 1   ChatClient / ChatModel 基礎呼叫
Lesson 2   串流輸出 / Temperature / 模型切換
Lesson 3   Prompt 模板 / 結構化輸出(entity())
Lesson 4   Function Calling(@Tool + 工具鏈)
Lesson 5   ChatMemory(Advisor + 多會話隔離)
Lesson 6   RAG 基礎(Embedding + VectorStore)
Lesson 7   進階 RAG(Metadata 過濾 + Re-ranking)
Lesson 8   多模態(GPT-4o 圖片 + DALL-E + Whisper + TTS)
Lesson 9   文件處理(ETL + 多格式 + TokenTextSplitter)

═══ 工程篇:正式專案與部署 ═══

Lesson 10  Spring Boot 專案(三層架構 + REST API + Vue 3)
Lesson 11  企業級 RAG(PGVector + 權限管控 + 監控)
Lesson 12  雲端部署(Docker + Cloud Run + CI/CD)← 你在這裡!
恭喜完成全部 13 堂課程!
你現在具備從零建構企業級 AI 知識庫應用的完整能力——從 Kotlin Notebook 實驗、Spring Boot 工程化、PGVector 持久化,到 Docker 打包與雲端部署。